


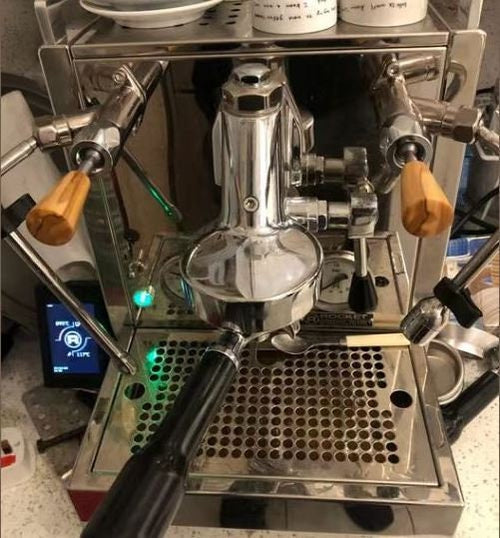
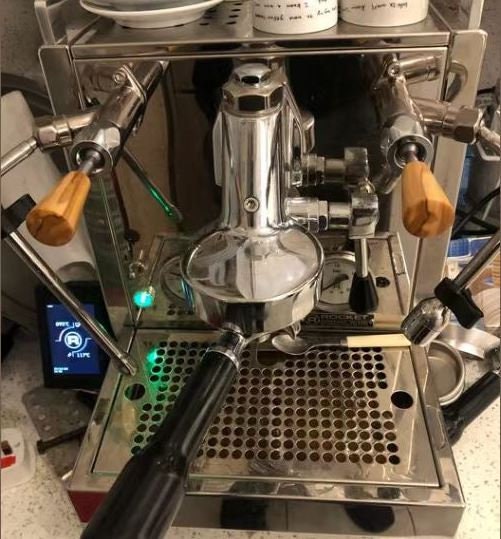


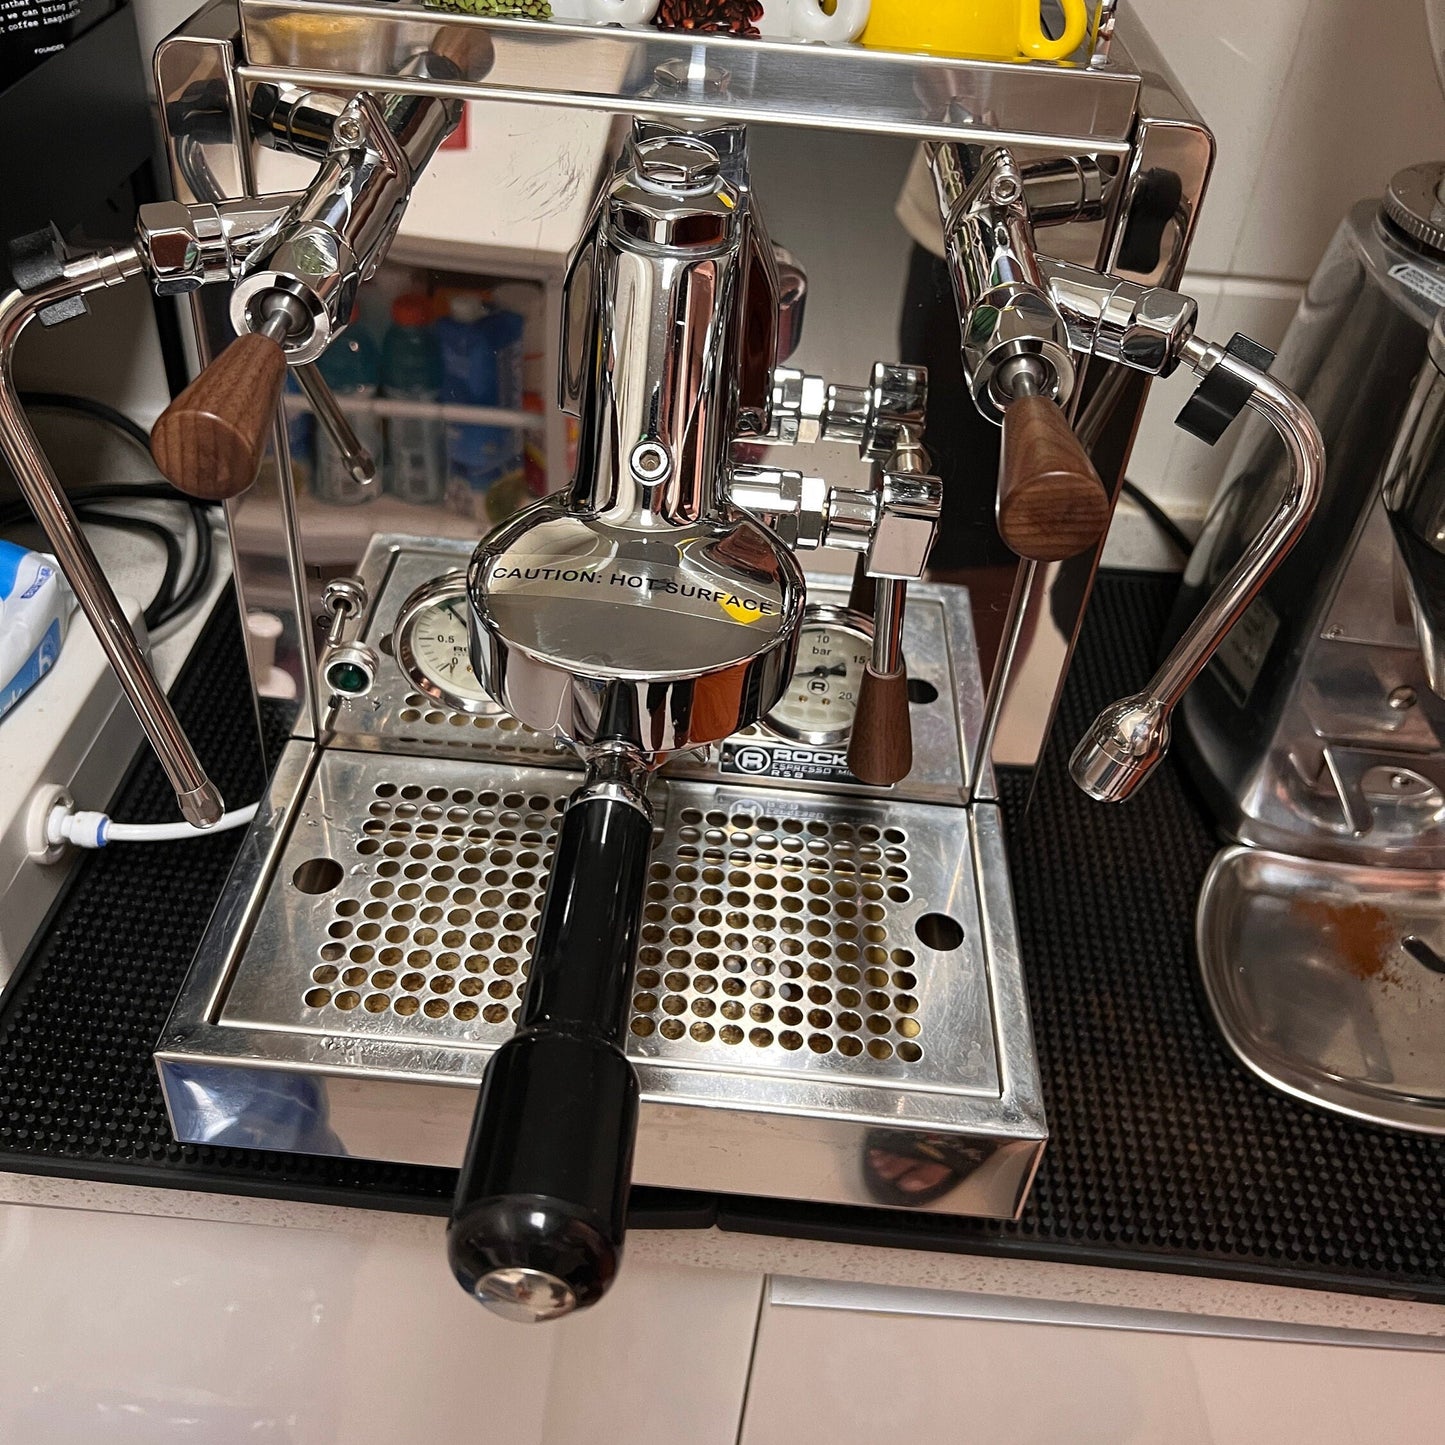
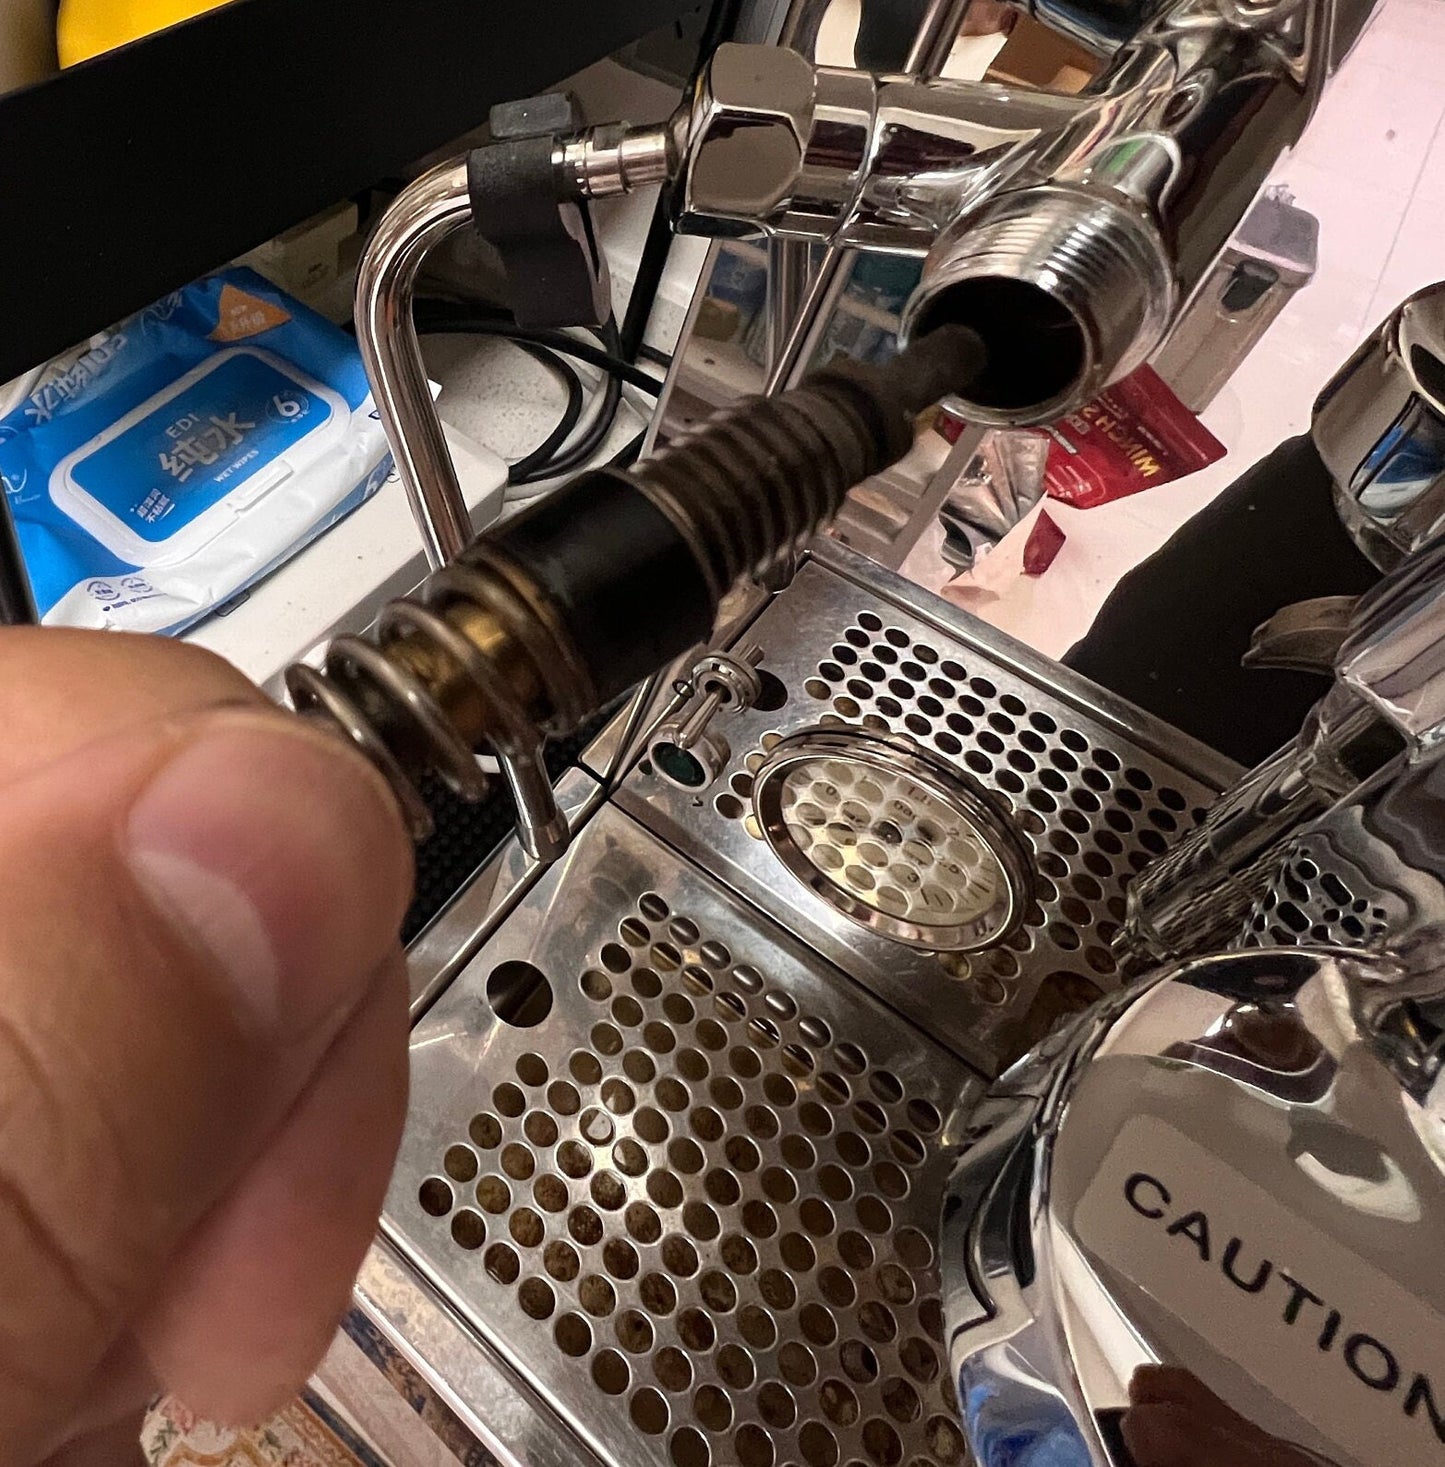
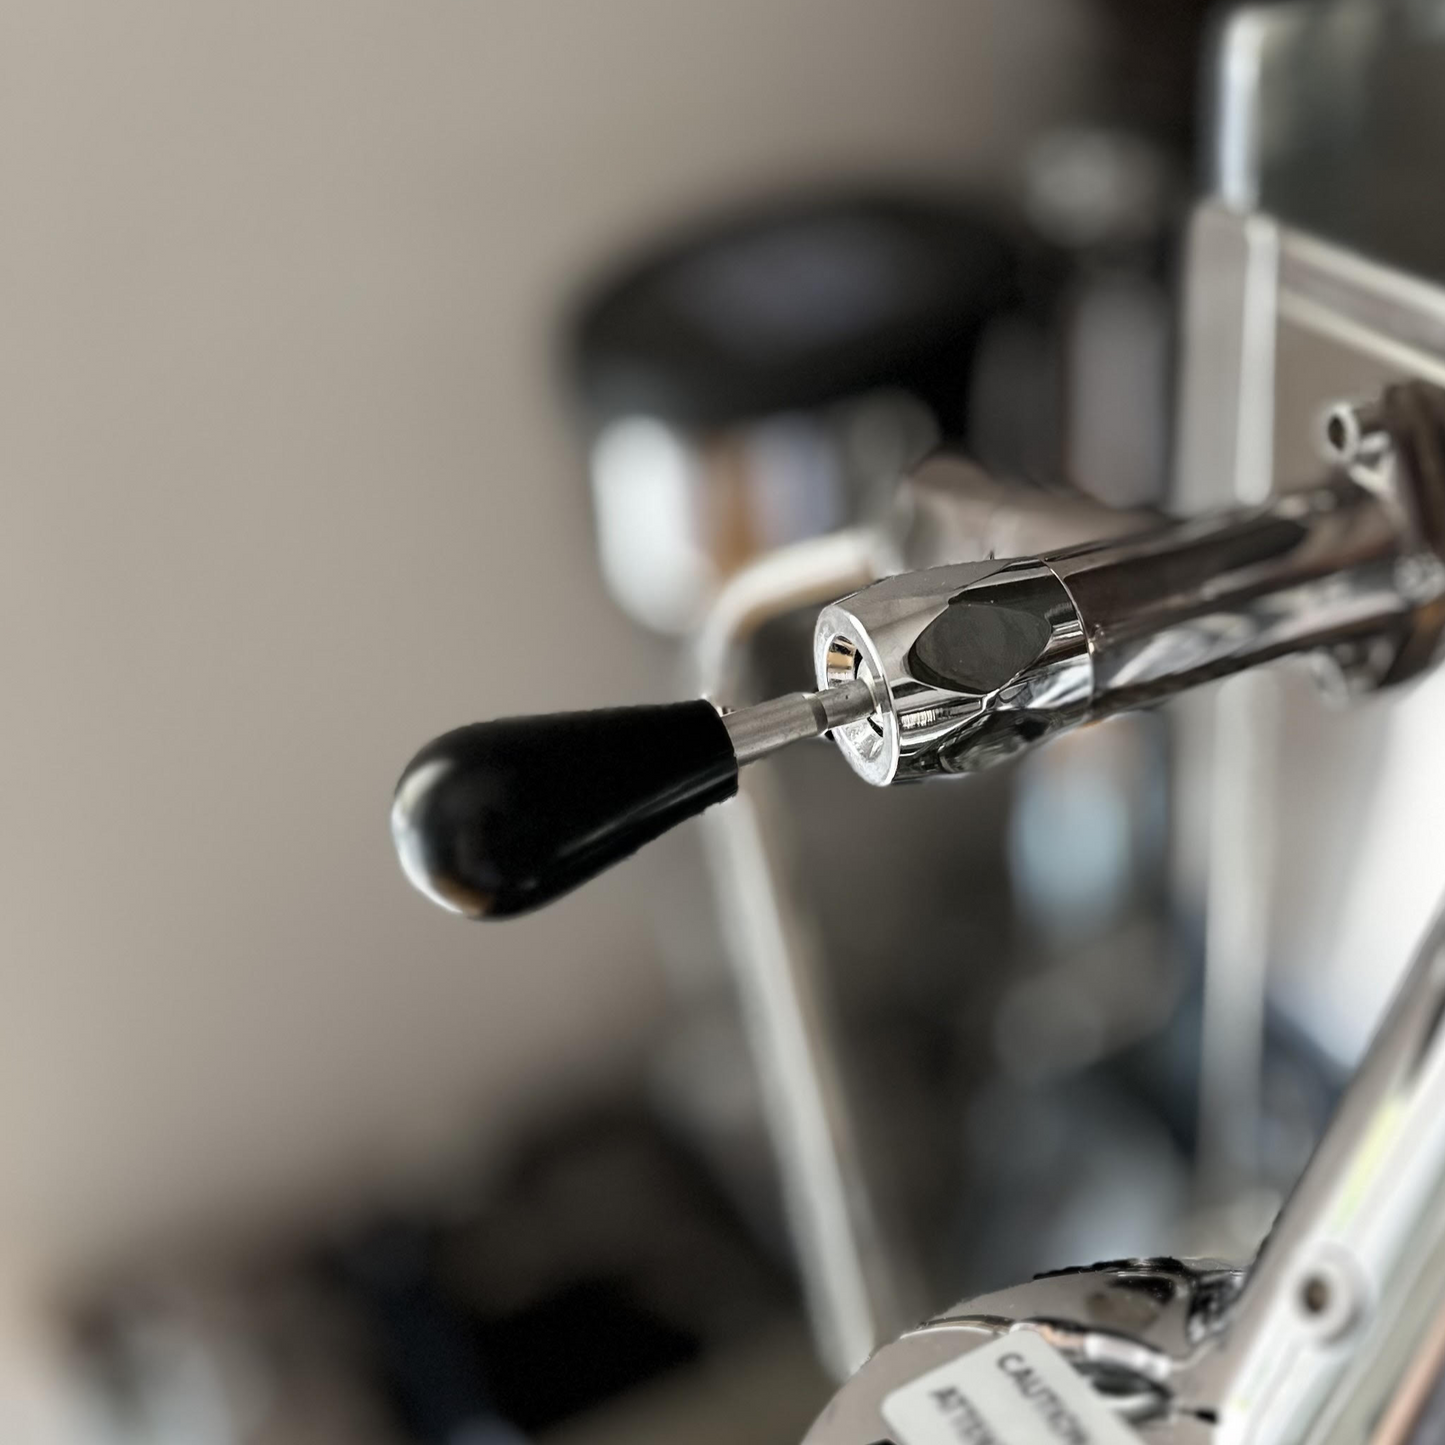
Upgrade your Rocket R58, R-Cinquantotto, R60V or Bicocca with ECM-style quick-action steam and hot-water joysticks. A short lever replaces the factory knob. You keep your original valve body, and the swap takes about 5 minutes.
Will it fit my machine?
- Yes: Rocket R58 V1 (older machines, including 2014), R58 V2, R-Cinquantotto, R60V, Bicocca.
- No: Rocket R58 TUNE. It uses a different valve, so please do not order this kit for it.
Not sure? Send us a photo of your original steam and hot-water controls before ordering, or email service@coweetwares.com.
Do I need to buy anything else?
No. Each valve comes with a piston, washers in several thicknesses, a spacer, a ball stud, a valve nut and a handle. It uses your original valve body and valve nut, so there are no adapters, fittings or seals to buy. Food-grade lubricant for the piston is included. You only need two common tools: a wrench (a 27 mm C-shaped or adjustable wrench) and a pair of tweezers.
Choose your option
- Steam Only: one complete set for the steam side.
- Steam + Hot Water: two complete sets, one for each side.
Handles come in eight woods or black plastic. Walnut is one option, not the only one. Natural grain and shade vary.
Easy 5-minute installation
Made specifically for the R58 family. Unlike a universal joystick assembly, this upgrade replaces only the short section behind your knobs. The thin steam and hot-water tubes stay where they are, and you do not need to open the top cover.
- Switch off, unplug and let the machine cool. Release steam pressure.
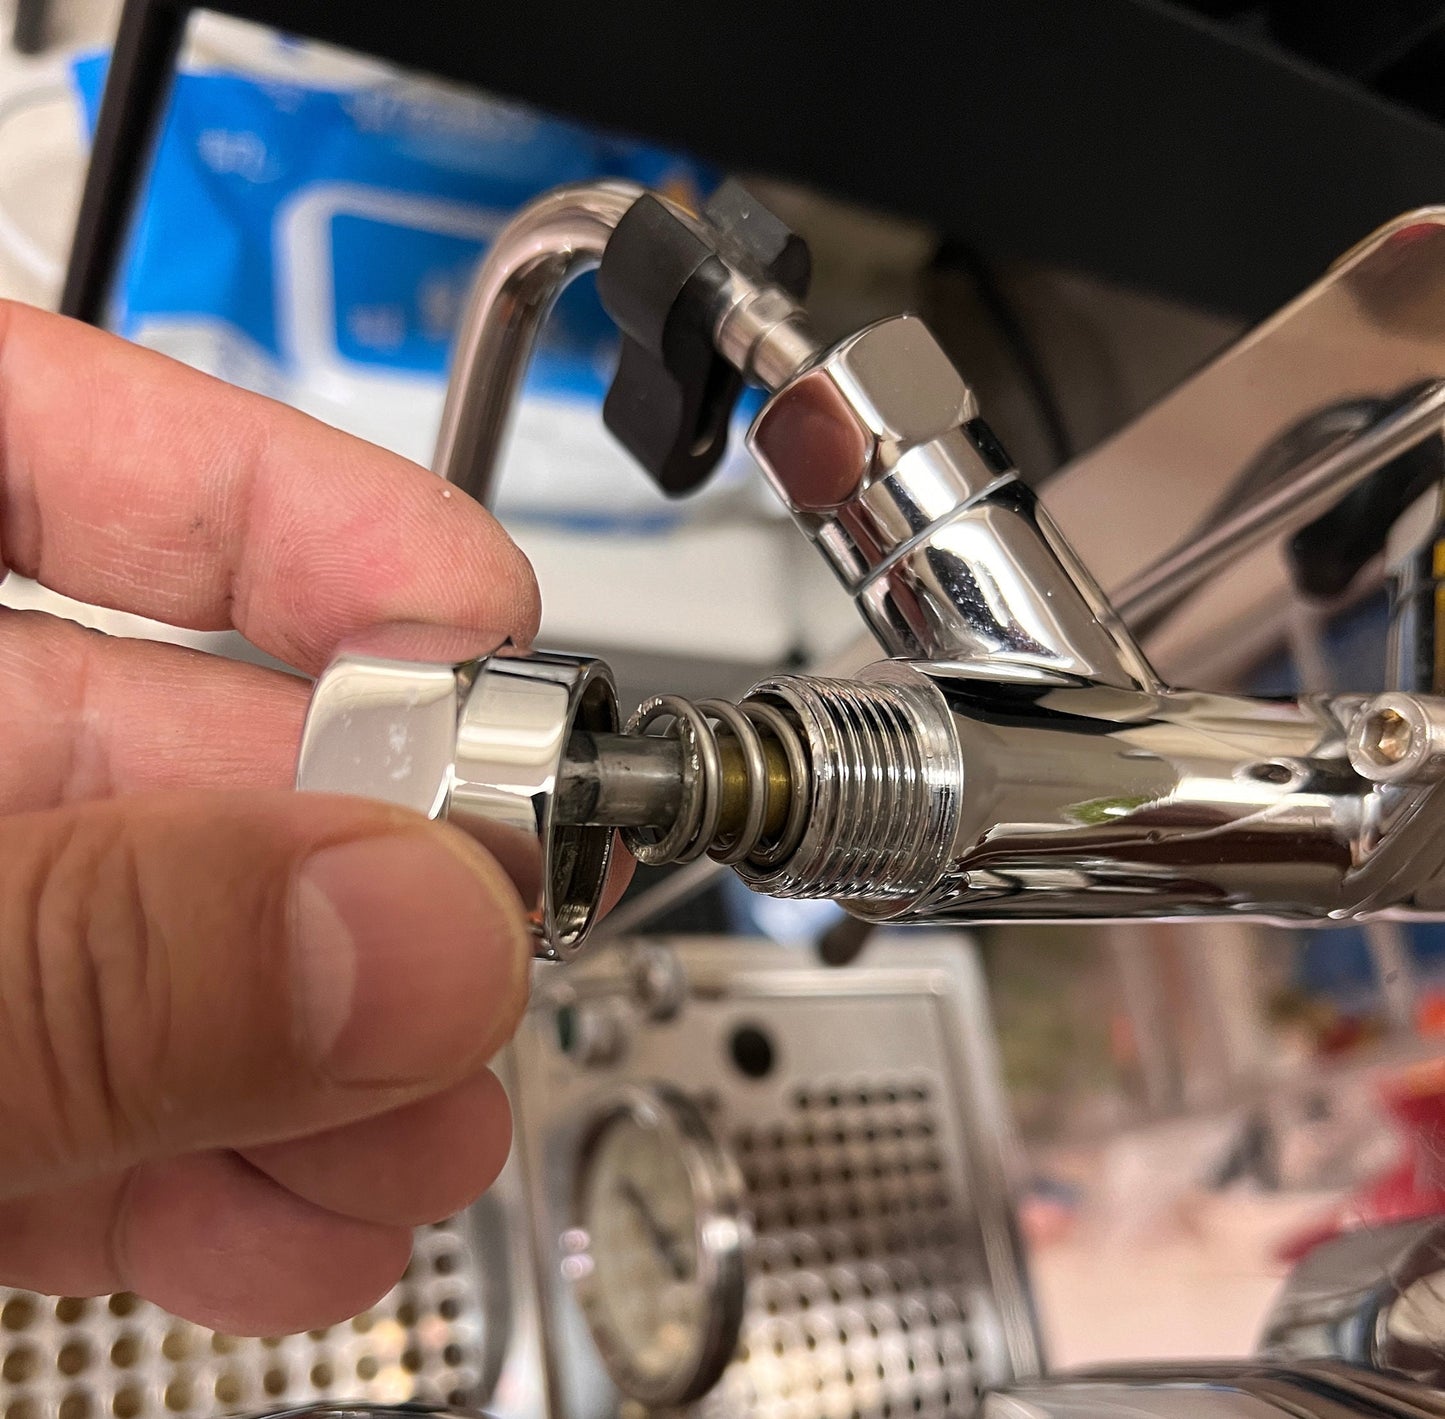
- Unscrew the original knob, then unscrew the original valve nut and pull out the valve core. Wipe the valve body clean.
- Take out the original piston. Lubricate our new piston (lubricant included) and fit it with a washer.
- Thread on the new valve nut with the ball stud inside, then screw on the handle.
- Switch on and test. The 0.5 mm washer is standard. If the lever feels too tight, use a thinner washer or none.
The printed manual comes with the kit. Watch the installation video or read the full step-by-step guide. A qualified technician is recommended if you are not experienced with espresso-machine plumbing.


